


Insulated Cube Garden Offices - any shape, any design Price From: £3,897.43


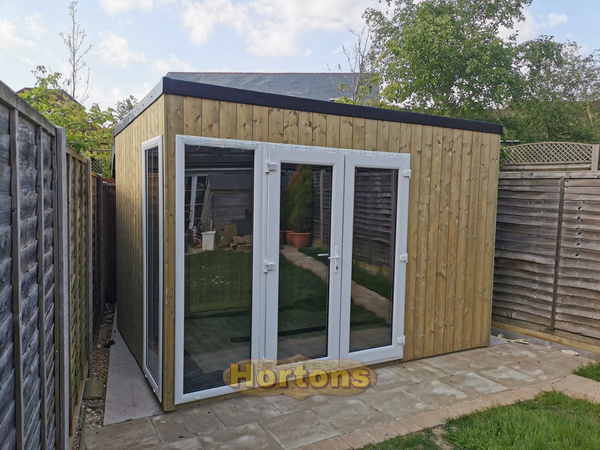
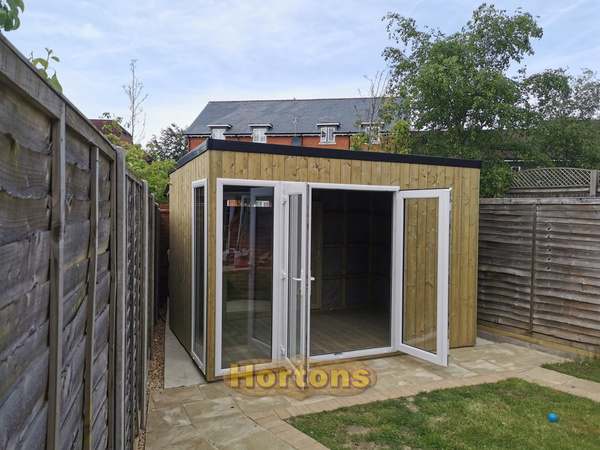
Easibuild Contemporary Cube Insulated Garden Offices
Cube Office Specifications
- Overall height - 2.45m (within planning restrictions)
- 18mm (finished thickness) tanalised cladding (can be vertical or horizontal cladding)
- 47x75mm tanalised wall framing
- 70x140mm roof purlins - very strong
- Breather membrane lining to all walls
- EPDM rubber roofing supplied as standard (complete with all glue and trims required)
- Tanalised floor panels
- Tanalised floor bearers at 400mm spacings for a very strong floor
- Double glazed, double doors with eurolock security
- 2 x 690x2125mm joinery made, log cabin quality fixed sidelights
- Safety glass
- Includes delivery to most of the UK - see terms and conditions for free delivery area postcodes
NB - all imperial sizes shown are for guidance only, the buildings are supplied in exact metric sizes (for instance, the 3.0m size is shown as approximately10ft, but is actually 9'10 1/8"). Please ask if you aren't sure.
Garden Cabin Model: easibuild-cubeBuilding Wall Height: 2.35m
Building Ridge Height: 2.45m
2 x 690mm(w) x 2125mm(h) Window
1 x 1565mm(w) x 2100mm(h) Double Door
CHOOSE YOUR EASIBUILD CUBE OFFICE SIZE:-
You can add as many buildings as you like to your quote. Then you can review your options later in 'Your Quotes'.
If you need more information or would like to change or confirm any options you can submit your no obligation quote to us.
We'll check it over and contact you with any further information you have requested and also confirm prices including options like delivery or installation.
Note: By submitting your quote you are not buying anything nor are you obliged to buy anything.


Insulated garden offices
Hortons build high quality timber garden buildings that are insulated and ideal for an office at home. Usually manufactured in large, very heavy and awkward panels. These can make it difficult to actually get the building into into your garden. Especially if you have restricted access (width or height). Sometimes having to take them over a garage roof or fence which involves lots of extra manpower and expense. This is why we have come up with our unique "Easibuild" garden building range.
Options for your garden office
- Choice of cladding - rebated shiplap, rebated featheredge, vertical T&G or Hardie Plank (more info on Hardie Plank)
- Doors can be flush or inset on the front wall (see photos for both options)
- Extra doors
- Extra windows
- 47x100mm or even 47x150mm framing for larger buildings
- Insulation packs (for roof, walls or floor - you can choose)
- Change window sizes - we have many choices available (click here)
- Factory painting using high quality Remmers timber treatment
- Veranda decking within inset area in front of doors (if you choose to inset your doors)
- Made to measure service - can be made to the nearest millimetre, any size, shape and layout is possible!
- Upgrade to low maintenance by adding HardiePlank cladding (15 year guarantee, expected to last at least 30 years!
- Upgrade to maintenance-free by upgrading uPVC or aluminium windows and doors!
- uPVC windows and doors - maintenance free, easily cleaned with a damp rag, class "A" WER rating for warmth!
- Aluminium windows, doors and bifolding doors - wide choice of colours (any RAL colour), maintenance free, easy to clean, class "A" WER rating.
- Hardie Plank composite cladding - maintenance free for at least 15 years AND fire rated to A2-s1-d0!
Lining choices
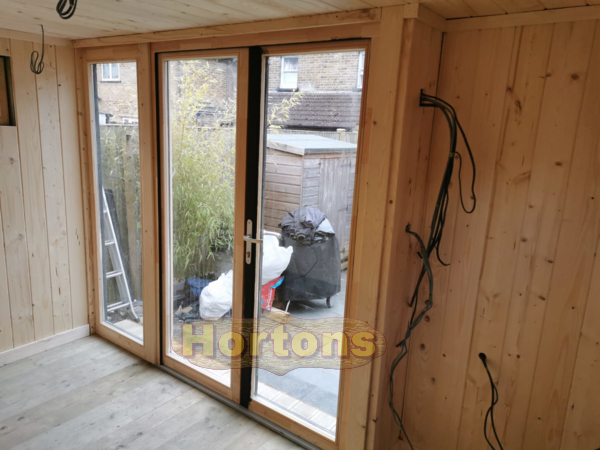
We offer a number of lining choices, plasterboard is the standard lining. But we can also supply moisture resistant MDF and tongue & groove timber boarding (TGV) (price on application).
There are 2 types of plasterboard, square edged and tapered edge. Square edge requires plastering or tapered edge which requires taping and filling (commonly known as dry lining)-
- The dry lining option is more suitable for DIY finishing (you must use self-adhesive jointing mesh tape and specialist jointing compound and not general purpose filler, otherwise your joints will crack over time).
- Square edged plasterboard does require plastering by a professional plasterer. All options will still require full decoration after installation.
We also highly recommend using reinforced corner jointing tape around all window and door reveals as well any external corners to protect the plasterboard edges from damage.
NB - Hortons do not undertake plastering or taping & joining. This should be by others (ie, by the customer or a contractor employed by the customer)
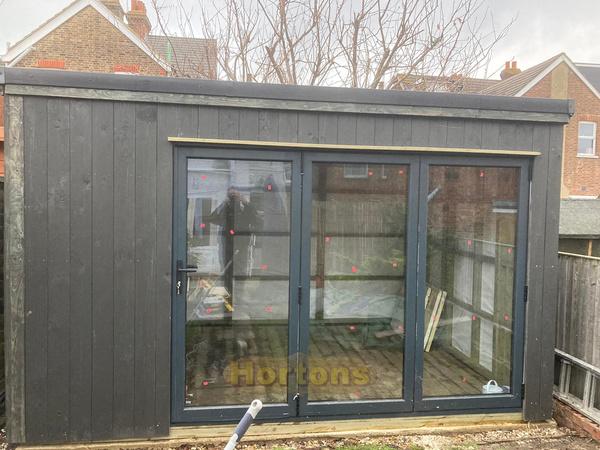
3.8m x 2.6m Cube Lined and Insulated Garden Office

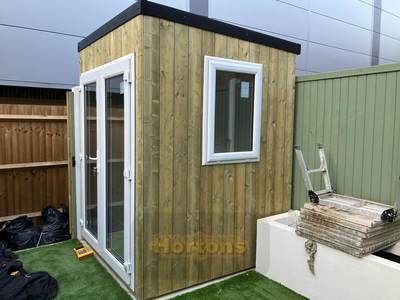
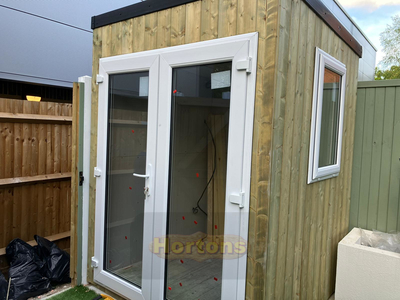
1.8m x 1.8m insulated garden office
Cube offices are very flexible in design, size and specification. This garden is very small, and so requiring a small garden office. We installed onto a concrete base prepared by the customer. It has uPVC doors and windows, EPDM roofing and is insulated with Kingspan for comfortable use all year.
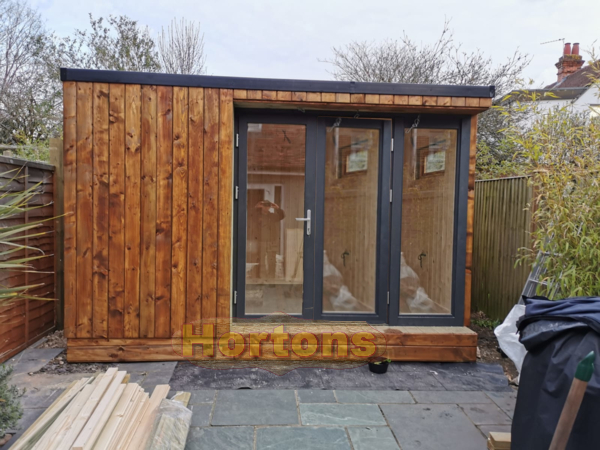
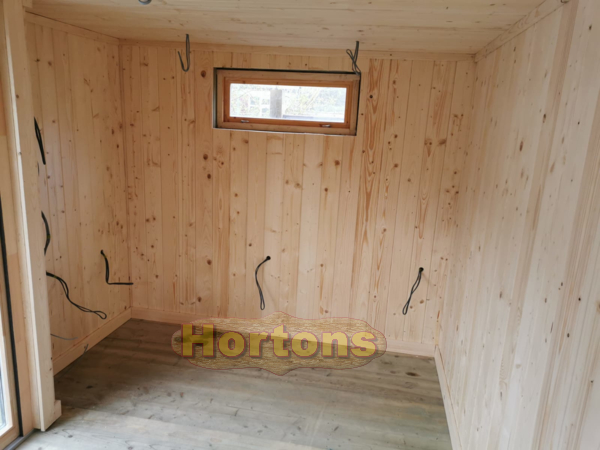
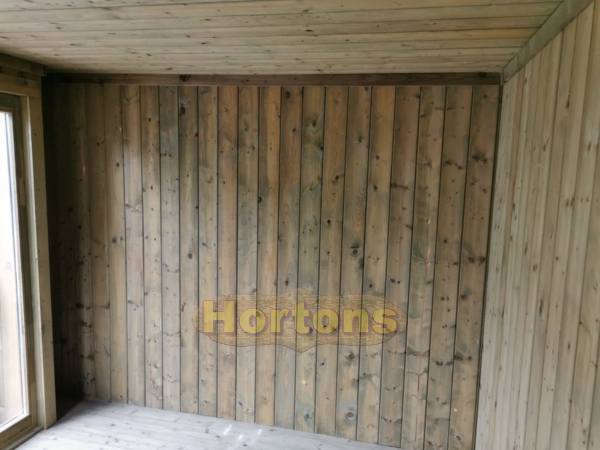
3.3m x 4.8m Insulated Cube Garden Office with T&G lining
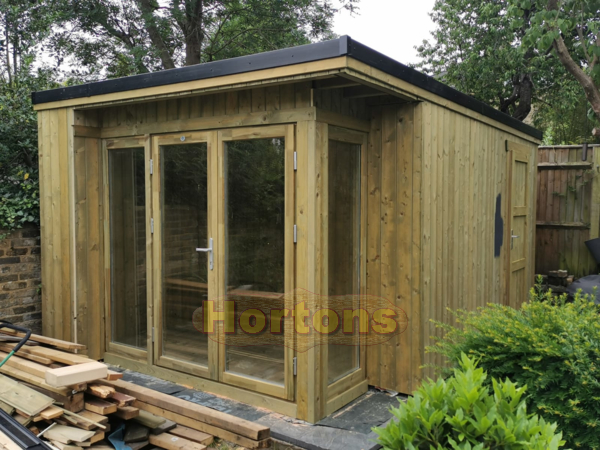

5x3m Cube Garden Office with bifolding doors
6x4m insulated Twin Skin garden room with built in BBQ area
This Cube Garden Office was installed in an odd shaped garden, so it has a rear door to access the spare room behind it for storage. We then built an integral roof over this area for dry storage.
Easibuild "Cube" Insulated Garden Offices installation instructions
This Cube Office is being installed upon a timber platform rather than a concrete base (you will see this platform being laid just before the floor panels of the office itself are fitted) -
Garden Office floor installation
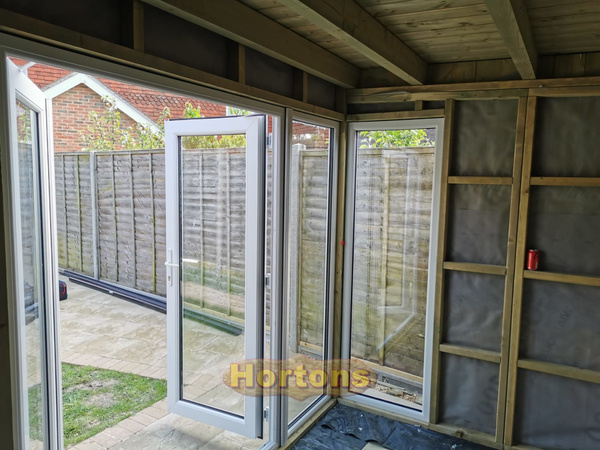
Garden Office wall installation
Garden Office roof installation
Garden Office window and door installation
Installing garden office roof and floor insulation
Now that your office is water-tight, you can fit the insulation and internal lining. It is best to start with the roof. Cut and fit the fibreglass insulation into each of the bays in the roof (you can use tape to hold it in place). Then cut the Celotex/Kingspan solid board insulation to fit into each bay, ensuring a tight fit. Tack the vapour barrier around to cover the whole ceiling area. If there are any joins then make sure they are directly over a purlin. Lastly, fix your ceiling lining into place.
Now fit the wall lining and insulation by cutting the Celotex/Kingspan into each of the bays in the wall, again ensuring a tight fit. We supply enough insulation to fully fill the depth of the space in the wall. Then fit your wall lining over the top accordingly.