NB - we strongly advise that you don't attempt to install felt shingles above 30 degrees centigrade for the following reasons -
The tiles become extremely flexible / floppy and there is a chance they could tear when lifting them
The bitumen printed on the tiles starts to melt at these temperatures, this in turn could get on your hands and burn / blister them
In these hot temperatures, the printed bitumen is so tacky that once you have put it on top of the previous course of tiles then it will immediately stick down with no chance to adjust the lining up. This will lead to "wonky lines" of felt tiles
Walking on the tiles as you work your way up the roof will leave footmark imprints on the tiles where the stone chippings get pushed into the bitumen and the bitumen rises above the stone chippings, leaving black marks in the shape of footprints (especially if you turn a foot on the spot)
Walking on a very hot felt shingle roof will potentially burn your feet, especially if you stay in one position for too long
It is far better to wait for the weather to cool down before attempting your felt shingle installation.
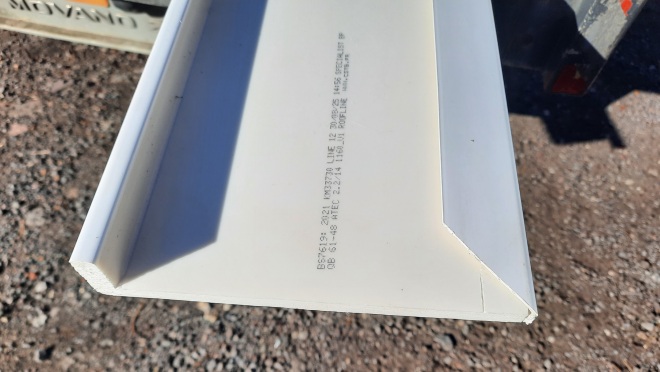
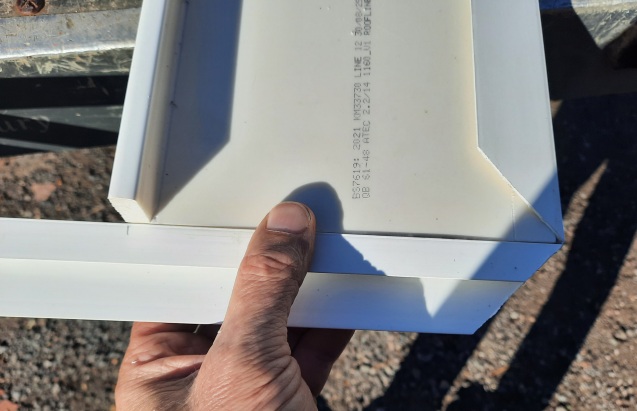
If you have ordered uPVC fascias, they are fitted in a very similar way. The only differences are that they are already in a preformed L shape (no barge cover trim needs to be fitted to form this L shape) and an edge trim is supplied to protect the square cut edges -
uPVC eaves fascia boards
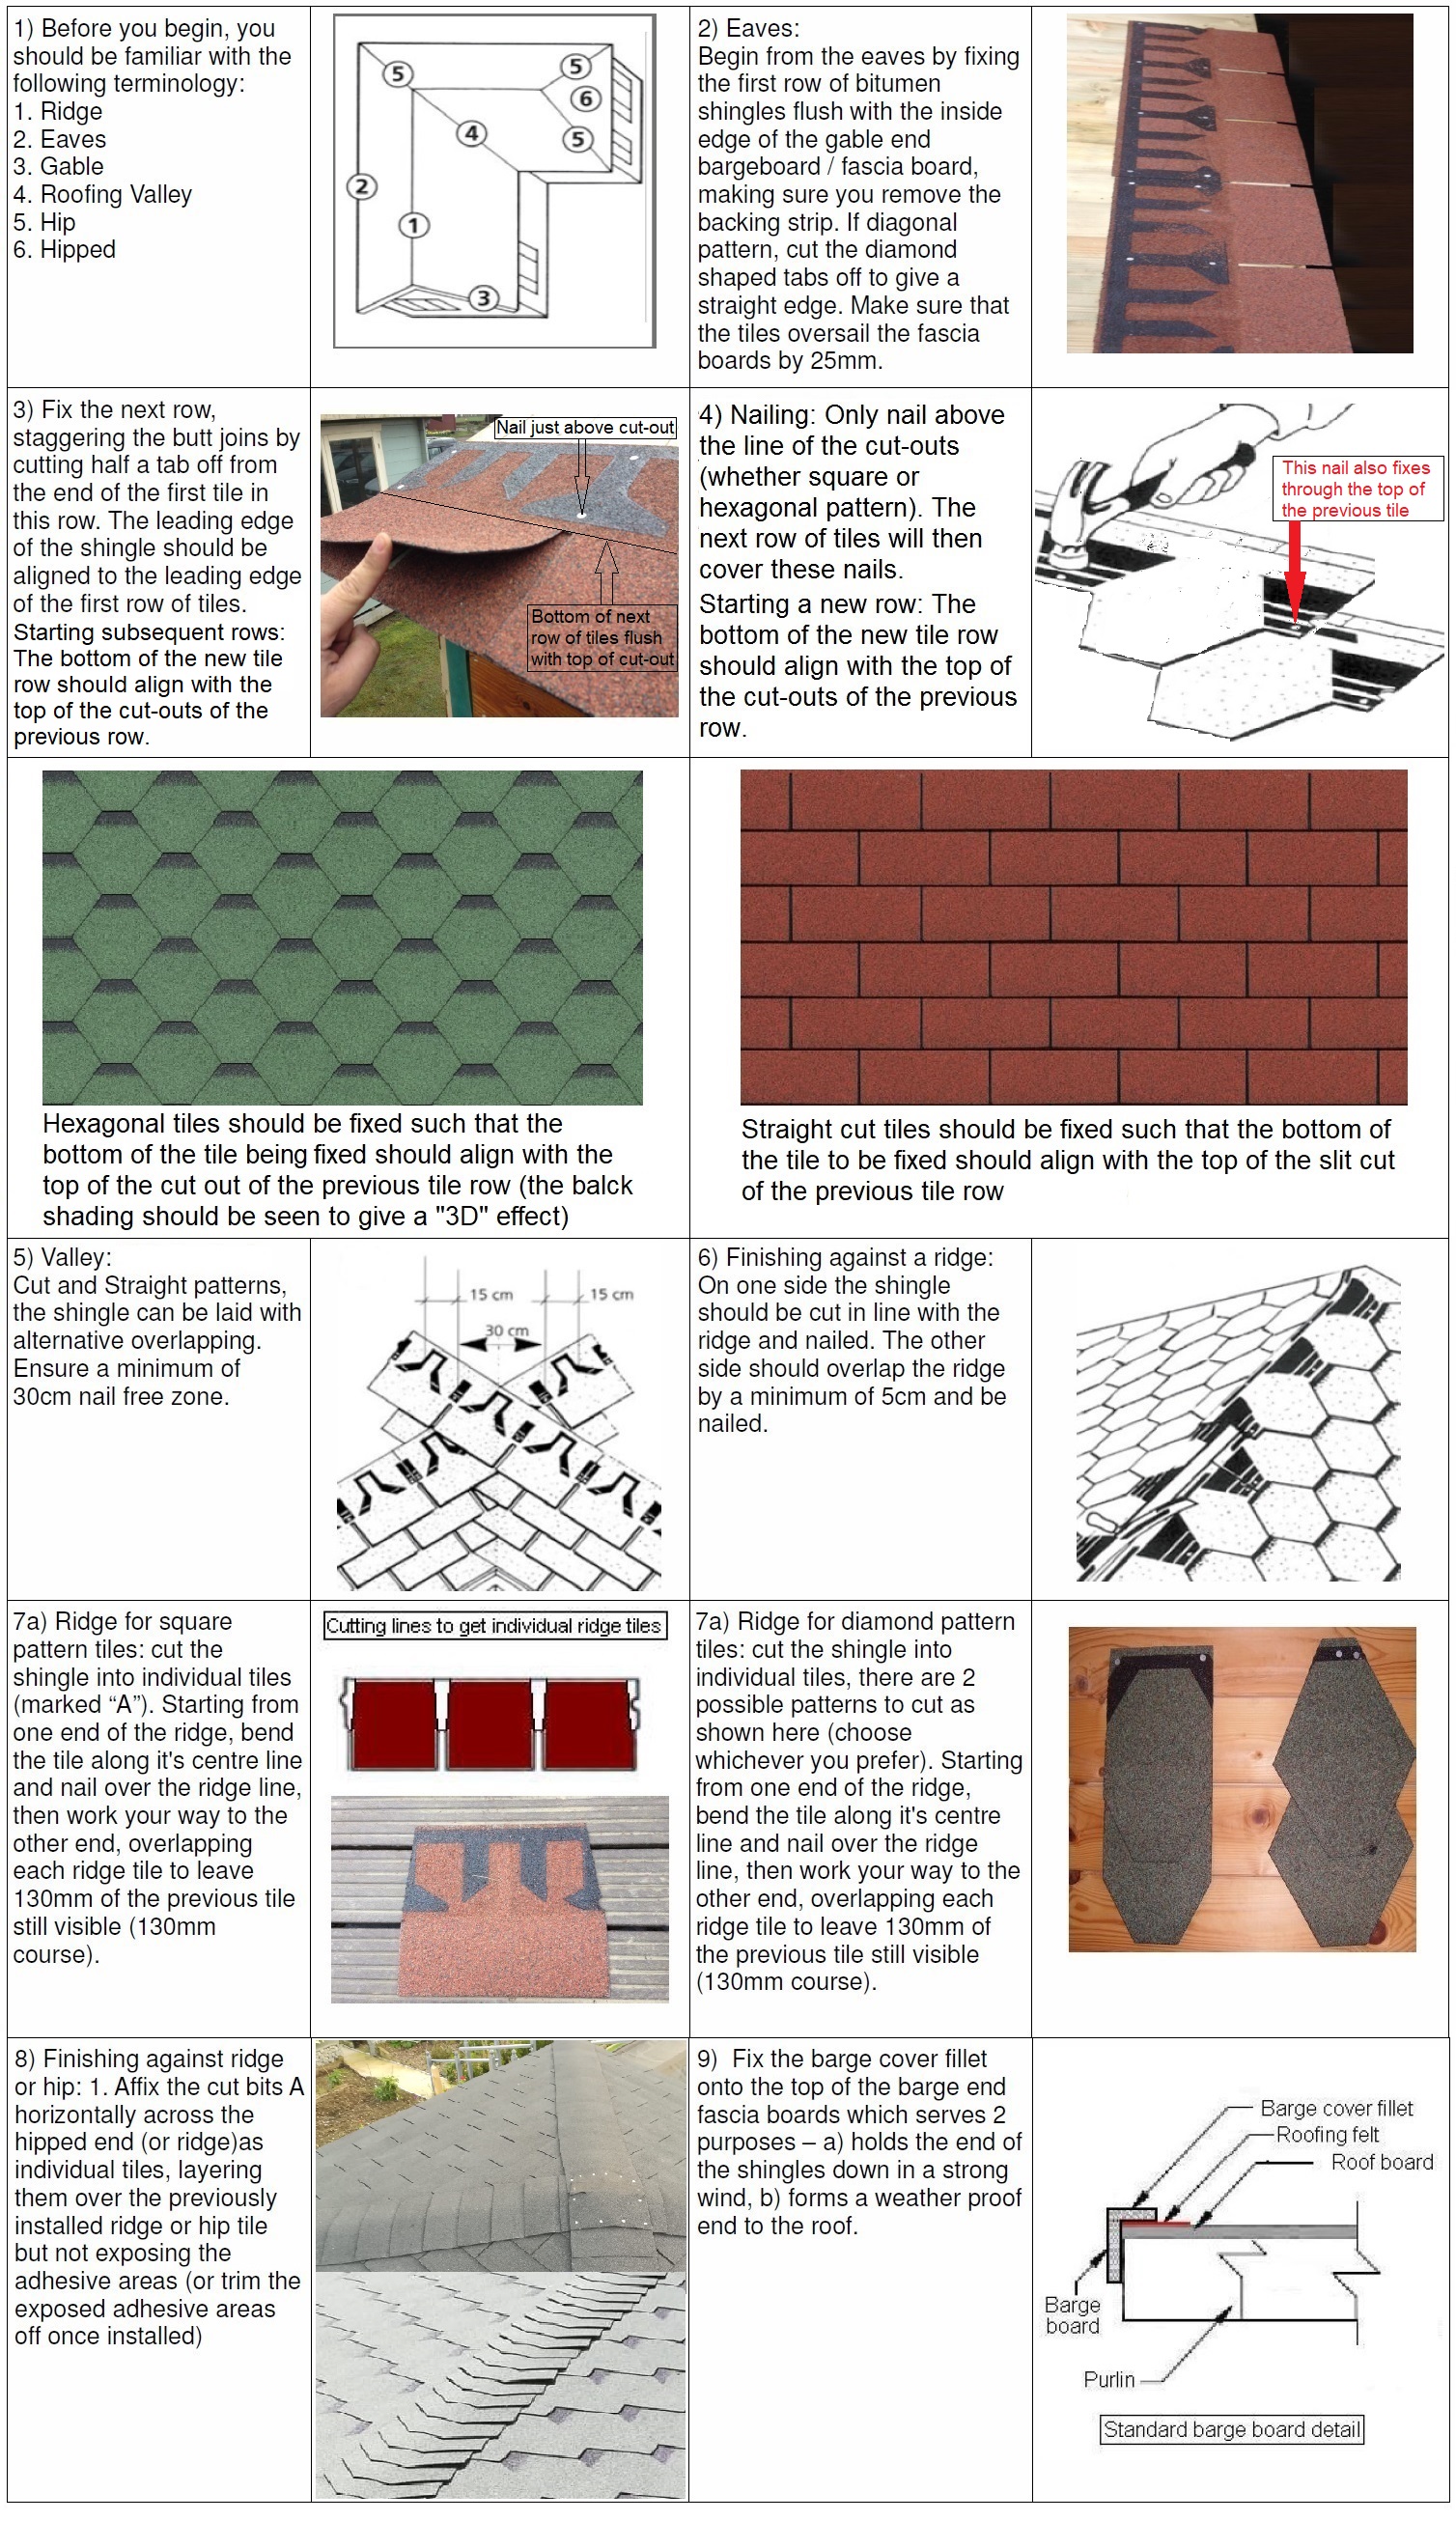
Cut and fit the eaves fascia boards (flat boards) to the drip using the capped nails (finished edge pointing down). If you need to join 2 pieces together for the length required, make sure you leave a 5mm gap between them to allow for expansion. Fix a cover strip over the join (drill pilot holes through this trim otherwise it may split).
uPVC barge boards (L-shaped)
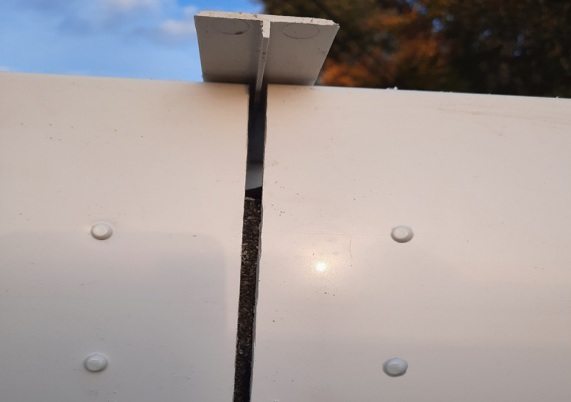
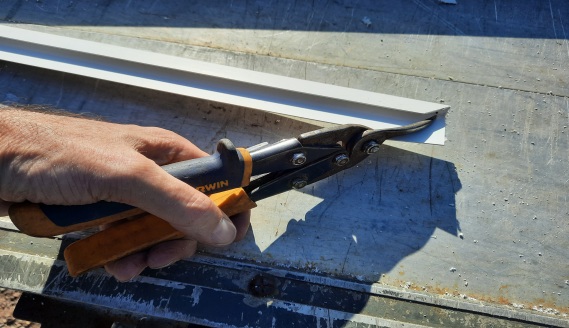
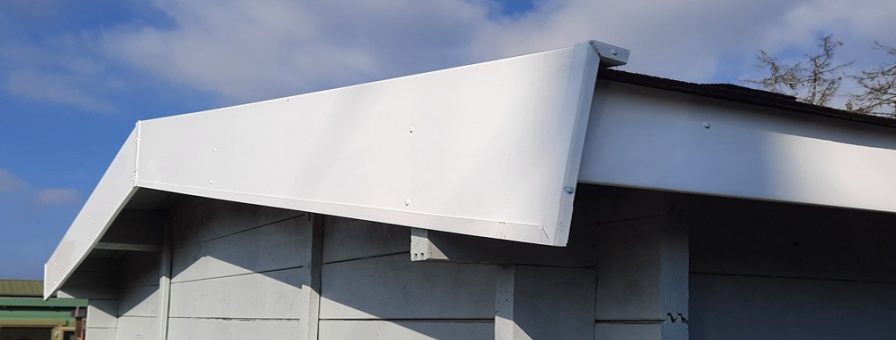
Cut the barge boards to the desired length with the suitable angle where they meet at the apex (this joint doesn't need to be exact and leave a 5mm expansion gap between them which is then covered by a cover strip (same as for the eaves but this one is Lshaped and returns over the top as well) Cut a 45° angle on the end of a length of trim (you can use tin snips or a hacksaw)
Fit this onto the bottom edge of the barge board (long edge fits to the rear) and secure with capped nails every 600mm, and cut to length.
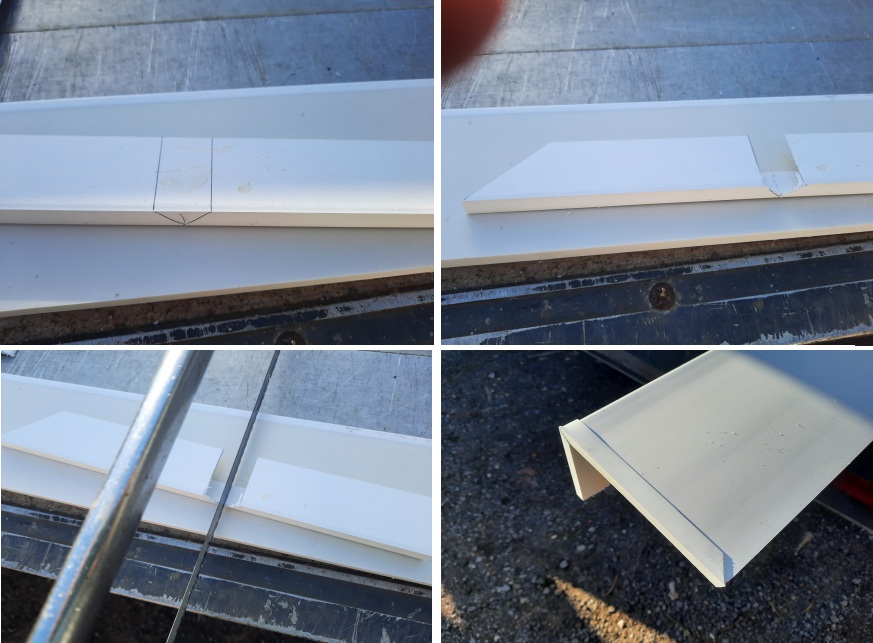
Cut a piece of trim 60mm longer than the height of the barge board and cut the end at 45 degrees (opposite angle to the previous piece) and offer this cut end up to the end of the barge board (but the opposite way around in order to get an accurate measurement)
Mark out as follows (the diagonal lines are drawn at 45° centred around the line drawn above, and the lines are drawn on the long side of the trim)
Score a line down the centre of the V to ensure a sharp bend and fit onto the end of the barge board
Cut the excess trim off and secure with 2 nails - your barge end cap is complete.